


Canon 60D Instruction Manual: A Comprehensive Guide
The Canon EOS 60D is a versatile DSLR, and this guide provides a comprehensive overview of its functions. From downloading the official manual to mastering manual focus, this resource aims to help you unlock the full potential of your Canon 60D. This guide offers valuable insights and tips.
Downloading the Official Canon 60D Manual
Accessing the official Canon 60D instruction manual is a crucial first step in mastering your camera. Canon provides the manual in PDF format, which can be easily downloaded and accessed on various devices. This comprehensive document contains detailed information about every feature and function of the 60D, from basic settings to advanced techniques.
You can download the Canon 60D instruction manual directly from Canon’s official website. Navigate to the EOS 60D support page on Canon’s website. There, you’ll find a dedicated section for manuals and downloads. Locate the instruction manual for the EOS 60D, ensuring you select the correct language version. Click the download link to initiate the download of the PDF file. Once downloaded, you can save the manual to your computer, tablet, or smartphone for easy access whenever you need it.
Having the official manual readily available is invaluable for troubleshooting issues, understanding specific settings, and exploring advanced techniques. It serves as a reliable reference guide, ensuring you can confidently navigate the camera’s features and capture the best possible images.

Understanding Basic Camera Settings
Familiarizing yourself with the fundamental camera settings on your Canon 60D is essential for taking control of your photography. These settings dictate how your camera captures light and translates it into an image. Mastering these basics will provide a solid foundation for exploring more advanced techniques.
Key settings to understand include the exposure triangle: aperture, shutter speed, and ISO. Aperture controls the size of the lens opening, affecting depth of field and the amount of light entering the camera. Shutter speed determines how long the camera’s sensor is exposed to light, influencing motion blur. ISO adjusts the sensor’s sensitivity to light, impacting image noise.
White balance ensures accurate color reproduction by compensating for different lighting conditions. Metering modes determine how the camera measures the light in a scene to calculate exposure. Focus modes control how the camera focuses on your subject, whether it’s a single point or continuous tracking.
By understanding these settings and how they interact, you can make informed decisions to achieve your desired creative outcomes. Experiment with different combinations to see how they affect your images and develop your own unique style.
Navigating the Canon 60D Menu
The Canon 60D boasts an extensive menu system that allows you to customize various camera functions and settings. Efficient navigation is essential for optimizing your shooting experience and tailoring the camera to your specific needs. Understanding the menu structure and key options will empower you to take full control of your camera.
The menu is organized into several tabs, each containing related settings. These tabs typically include image quality, shooting settings, playback settings, custom functions, and setup options. Spend time exploring each tab to familiarize yourself with the available settings.
Within each tab, use the multi-controller or quick control dial to scroll through the options and select the desired setting. Pay close attention to the descriptions provided for each option to understand its function.
Consider customizing the “My Menu” tab with frequently used settings for quick access. This can save you valuable time when shooting in dynamic situations. Regularly review and adjust your menu settings to ensure they align with your current shooting style and preferences. With practice, you’ll become proficient in navigating the Canon 60D menu and unlocking its full potential.
Troubleshooting Common Exposure Problems in Manual Mode
Manual mode offers unparalleled control over your camera’s exposure settings, but it also requires a solid understanding of the exposure triangle: aperture, shutter speed, and ISO. When shooting in manual mode, you might encounter exposure problems such as underexposure or overexposure. Troubleshooting these issues involves carefully analyzing each setting and making adjustments accordingly.
If your images are consistently underexposed (too dark), consider increasing the aperture (lower f-number), slowing down the shutter speed, or raising the ISO. Conversely, if your images are overexposed (too bright), decrease the aperture (higher f-number), speed up the shutter speed, or lower the ISO.
Pay attention to the in-camera light meter, which provides a visual representation of the exposure level. Aim for a reading near zero for a balanced exposure. However, remember that the light meter can be fooled by scenes with high contrast or extreme brightness.
Experiment with different combinations of aperture, shutter speed, and ISO to achieve the desired exposure. Review your images on the camera’s LCD screen and make adjustments as needed. Practice and patience are key to mastering manual mode and resolving exposure problems effectively.
Utilizing Aperture Priority (Av) Mode
Aperture Priority (Av) mode on the Canon 60D offers a blend of control and convenience, allowing you to set the aperture while the camera automatically adjusts the shutter speed to achieve proper exposure. This mode is particularly useful when you want to control the depth of field, which is the area of the image that appears sharp.
A wider aperture (lower f-number) creates a shallow depth of field, blurring the background and isolating the subject. This is ideal for portraits and close-up photography. A narrower aperture (higher f-number) creates a large depth of field, keeping both the foreground and background sharp. This is suitable for landscapes and group photos.
To use Av mode, set the camera’s mode dial to “Av”. Then, use the main dial to select the desired aperture. The camera will automatically select a shutter speed that matches the selected aperture, aiming for a balanced exposure.
Monitor the shutter speed chosen by the camera. If the shutter speed is too slow, especially in low light, the image may be blurred due to camera shake. In such cases, consider increasing the ISO or using a tripod. Experiment with different aperture settings to see how they affect the depth of field in your images.
Exploring Shutter Speed Settings for Different Effects
Shutter speed, a fundamental element of photography, dictates the duration for which the camera’s sensor is exposed to light. On the Canon 60D, manipulating shutter speed opens doors to a realm of creative possibilities, enabling you to freeze motion or intentionally blur it for artistic effect. Understanding how shutter speed interacts with movement is crucial for capturing compelling images.
Fast shutter speeds, typically fractions of a second (e.g., 1/500s, 1/1000s), are ideal for freezing fast-moving subjects such as athletes, wildlife, or vehicles. These speeds minimize motion blur, ensuring sharpness and clarity in the captured image.
Conversely, slow shutter speeds, measured in seconds or fractions of a second (e.g., 1s, 2s, 1/30s), introduce motion blur. This effect can be used to convey a sense of speed or movement, create ethereal light trails, or smooth out water in landscapes. When using slow shutter speeds, a tripod is highly recommended to prevent unwanted camera shake.
Experimenting with different shutter speeds allows you to tailor your images to your creative vision. By adjusting the shutter speed, you can transform ordinary scenes into visually captivating works of art.
Firmware Updates and Installation
Firmware updates are essential for maintaining the optimal performance and functionality of your Canon 60D. These updates often include bug fixes, performance enhancements, and support for new features or lenses. Regularly checking for and installing firmware updates ensures that your camera operates at its best.

To check your current firmware version, navigate to the camera’s menu and locate the “Firmware” option. Canon typically releases firmware updates on its official website. Visit the Canon support page for the EOS 60D and search for available updates. Download the latest firmware file to your computer.

Before installing the update, ensure that your camera’s battery is fully charged to prevent interruption during the process. Format a compatible SD card in your camera and copy the downloaded firmware file to the card’s root directory. Insert the SD card into your camera and access the “Firmware” option in the menu.
Follow the on-screen instructions to initiate the firmware update. The camera will guide you through the installation process. Do not turn off the camera or remove the SD card during the update. Once the update is complete, the camera will restart automatically. Verify the updated firmware version in the menu to confirm successful installation.
Continuous Shooting Mode Explained
Continuous shooting mode, also known as burst mode, is a valuable feature on the Canon 60D for capturing fast-paced action or fleeting moments. This mode allows you to take a rapid sequence of photographs by holding down the shutter button, increasing your chances of capturing the perfect shot.
To enable continuous shooting mode on your Canon 60D, locate the drive mode button, represented by two overlapping rectangles, on the top right of the camera’s back. Press the button and rotate the Quick Control Dial until you select the continuous shooting mode icon. This icon typically depicts several overlapping rectangles or a similar symbol indicating rapid shooting.
The Canon 60D offers different continuous shooting speeds, usually denoted as “High-speed continuous shooting” and “Low-speed continuous shooting.” The high-speed mode captures the maximum number of frames per second, while the low-speed mode offers a slower, more controlled shooting rate. Choose the appropriate speed based on the subject’s motion and your desired outcome.
Keep in mind that continuous shooting mode generates a large number of images quickly, so ensure you have sufficient storage space on your SD card and a fast write speed to avoid buffering delays.
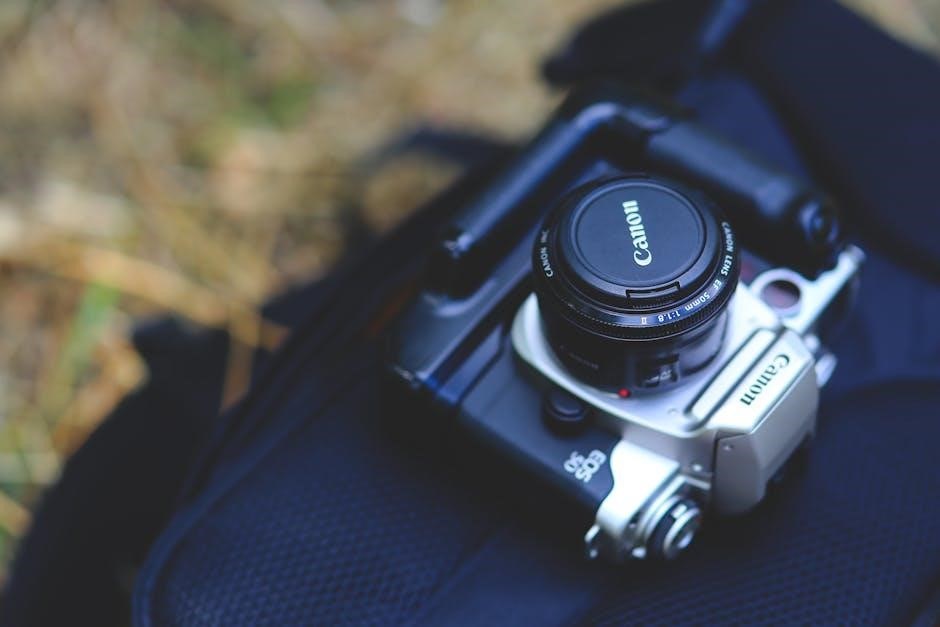
Manual Focus Techniques
Manual focus offers precise control over your focal point, especially useful in situations where autofocus struggles, such as low light or macro photography. Mastering manual focus techniques on your Canon 60D can significantly enhance your creative possibilities.
To engage manual focus, locate the AF/MF switch on your lens and slide it to the “MF” position. This disengages the autofocus system and allows you to manually adjust the lens’s focus.
Next, use the focus ring on the lens to adjust the focus. Rotate the ring while looking through the viewfinder or at the LCD screen in Live View mode. Pay close attention to the sharpness of the subject you want to focus on. Many photographers find it helpful to zoom in on the subject in Live View for even greater precision.
Consider using focus peaking if your Canon 60D supports it. Focus peaking highlights the in-focus areas with a bright color, making it easier to determine when your subject is sharp. Another technique is to use focus magnification in Live View. This allows you to zoom in on a specific area of the image to fine-tune the focus manually. With practice, manual focus becomes an invaluable tool for achieving critical sharpness and creative control.
Leave a Reply
You must be logged in to post a comment.